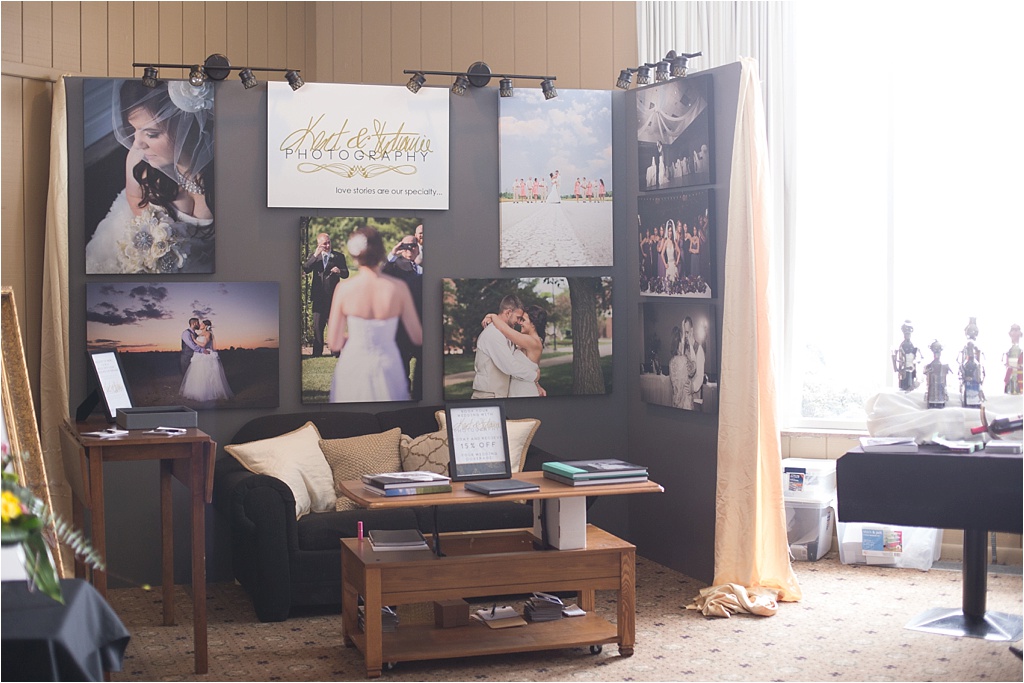
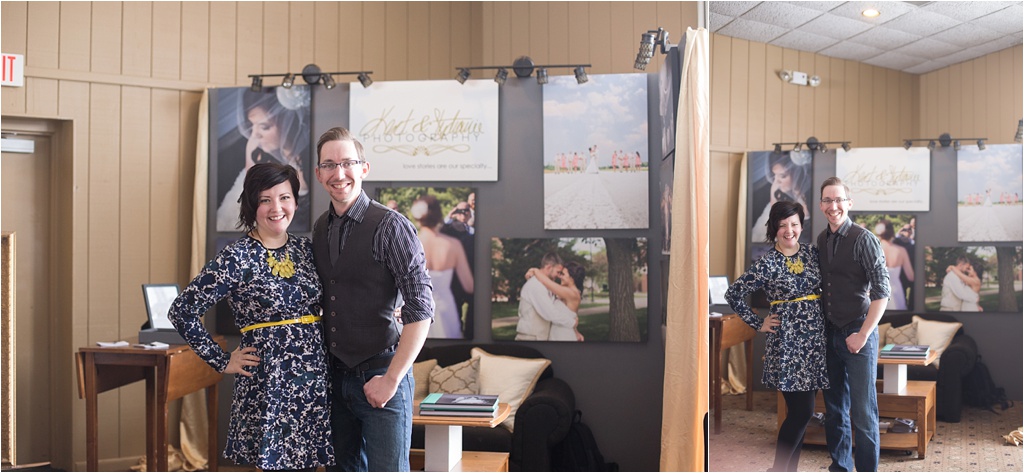
We’ve had lots of people, brides and vendors alike, ask us about our bridal show set up. There’s no doubt, it’s a bit extensive, but in our opinion it’s so worth it! The display is gorgeous, shows off our work, shows potential clients how large canvases could look in their home, and definitely leaves a lasting impression on anyone that stops by. That last point is huge for us, because some bridal shows are so big and so busy, we want to make sure people remember us! Having a display that’s different, taking time out to talk to people instead of shoving clipboards in their face, and making sure one or both of us wears something memorable are great ways to make a lasting impression.
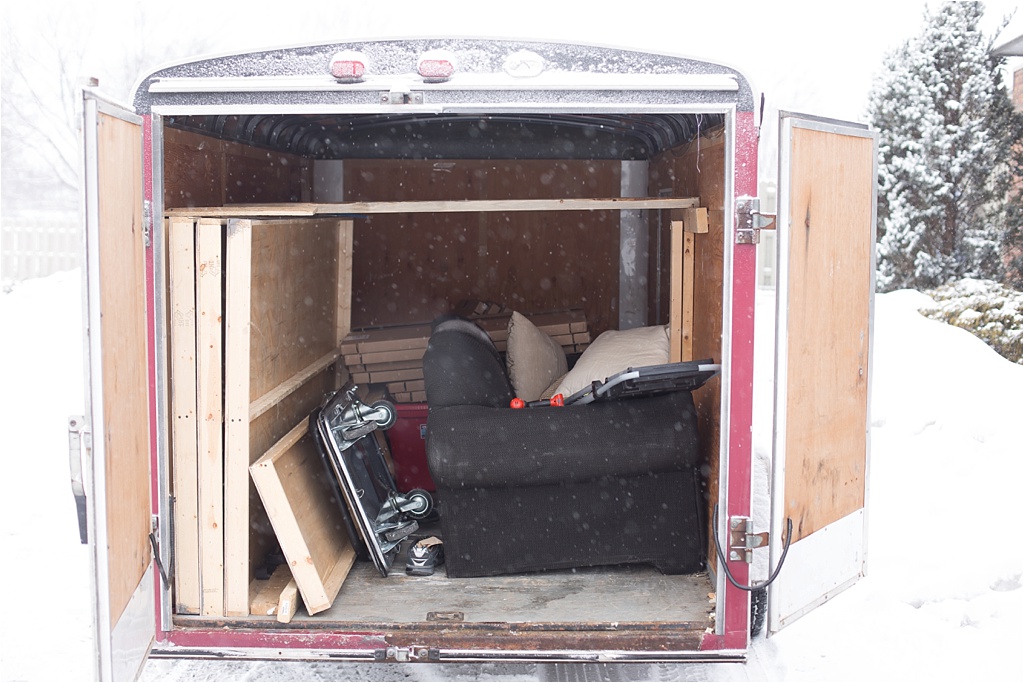
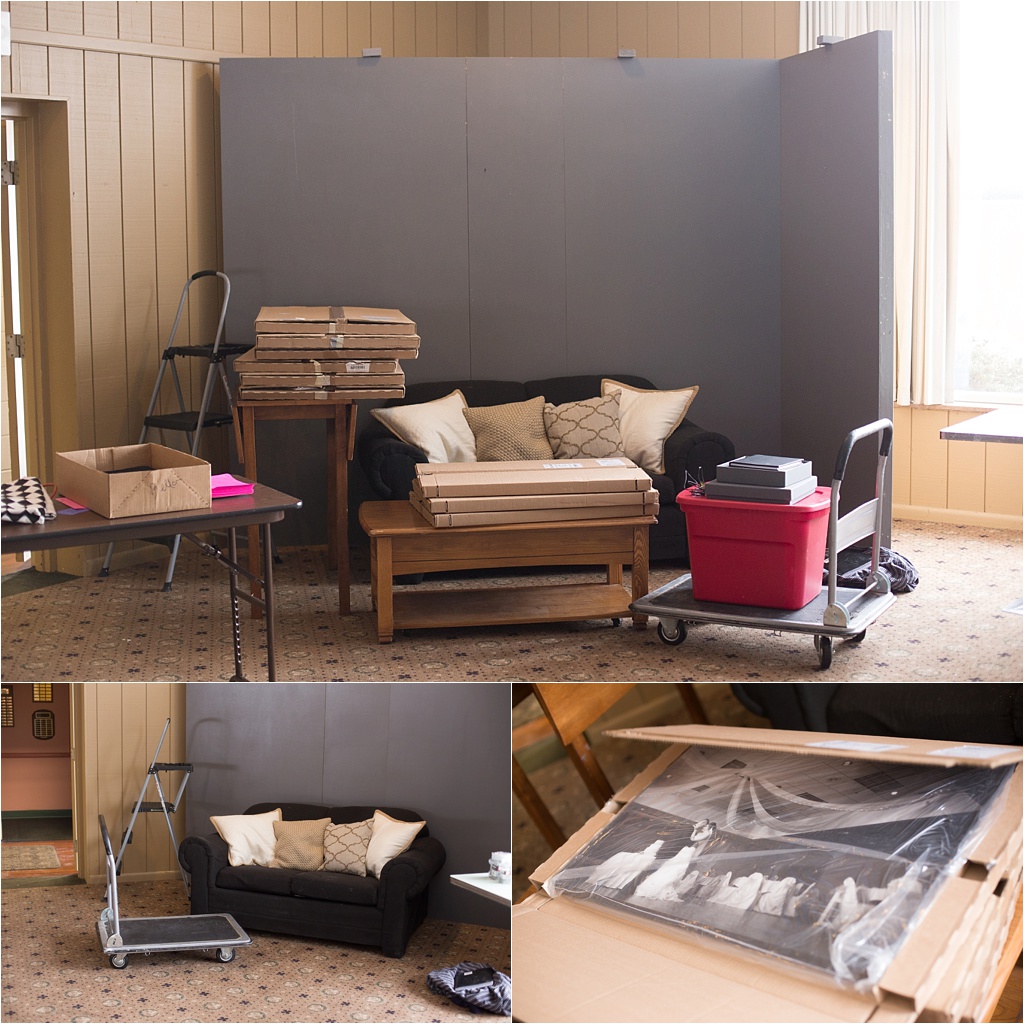
So! We transport all of our materials to the bridal show in a van trailer. We’ve slightly modified the inside of it by screwing in a couple of 2×4’s for support for the walls. There’s a vertical one on the right hand side, and then a horizontal one over top of the walls that are screwed to the 2×4 on the right, and each of the tall walls. We put all the walls on the left side side, and put in the couch, side table, coffee table, canvases, and other miscellany on the right in a very tetris kind of way. 😉
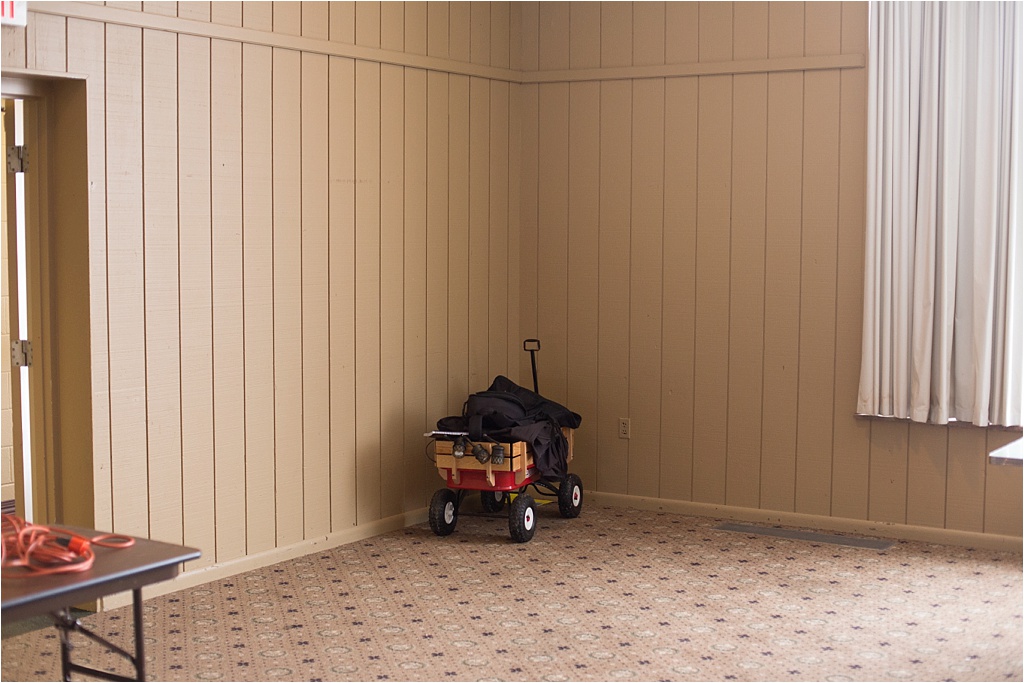
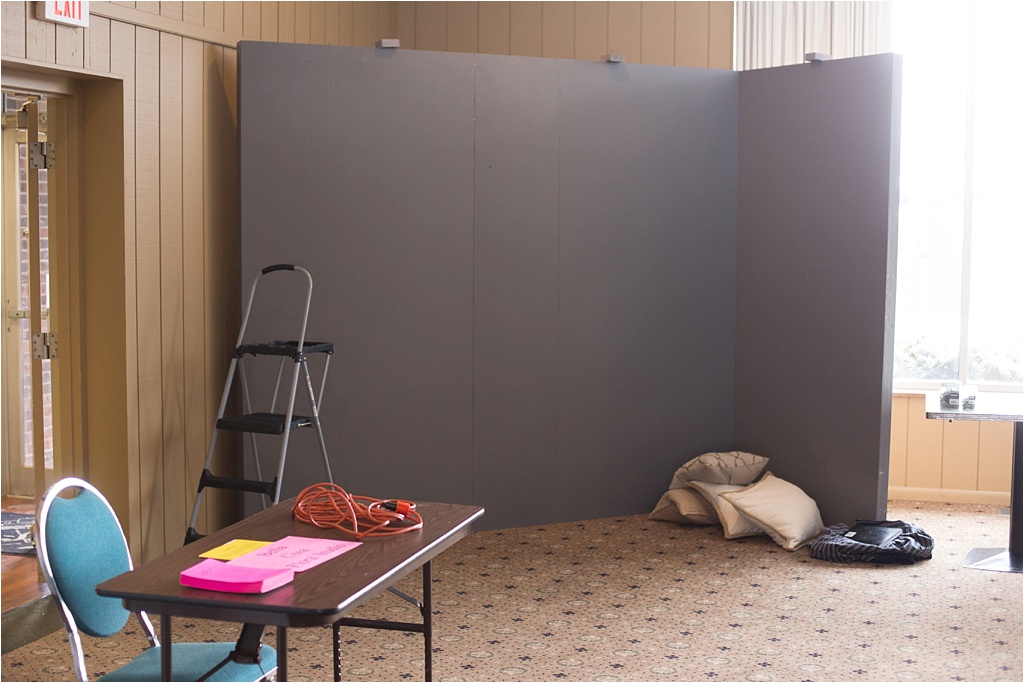
After we haul everything in (see the rolling cart? It’s a must. Lol), we get to work constructing everything! At this particular show, we were in a corner (which we love!) and had some great space to work with.
Our poor kids have completely lost control of their Radio Flyer wagon. Parents of the year. Whoops.
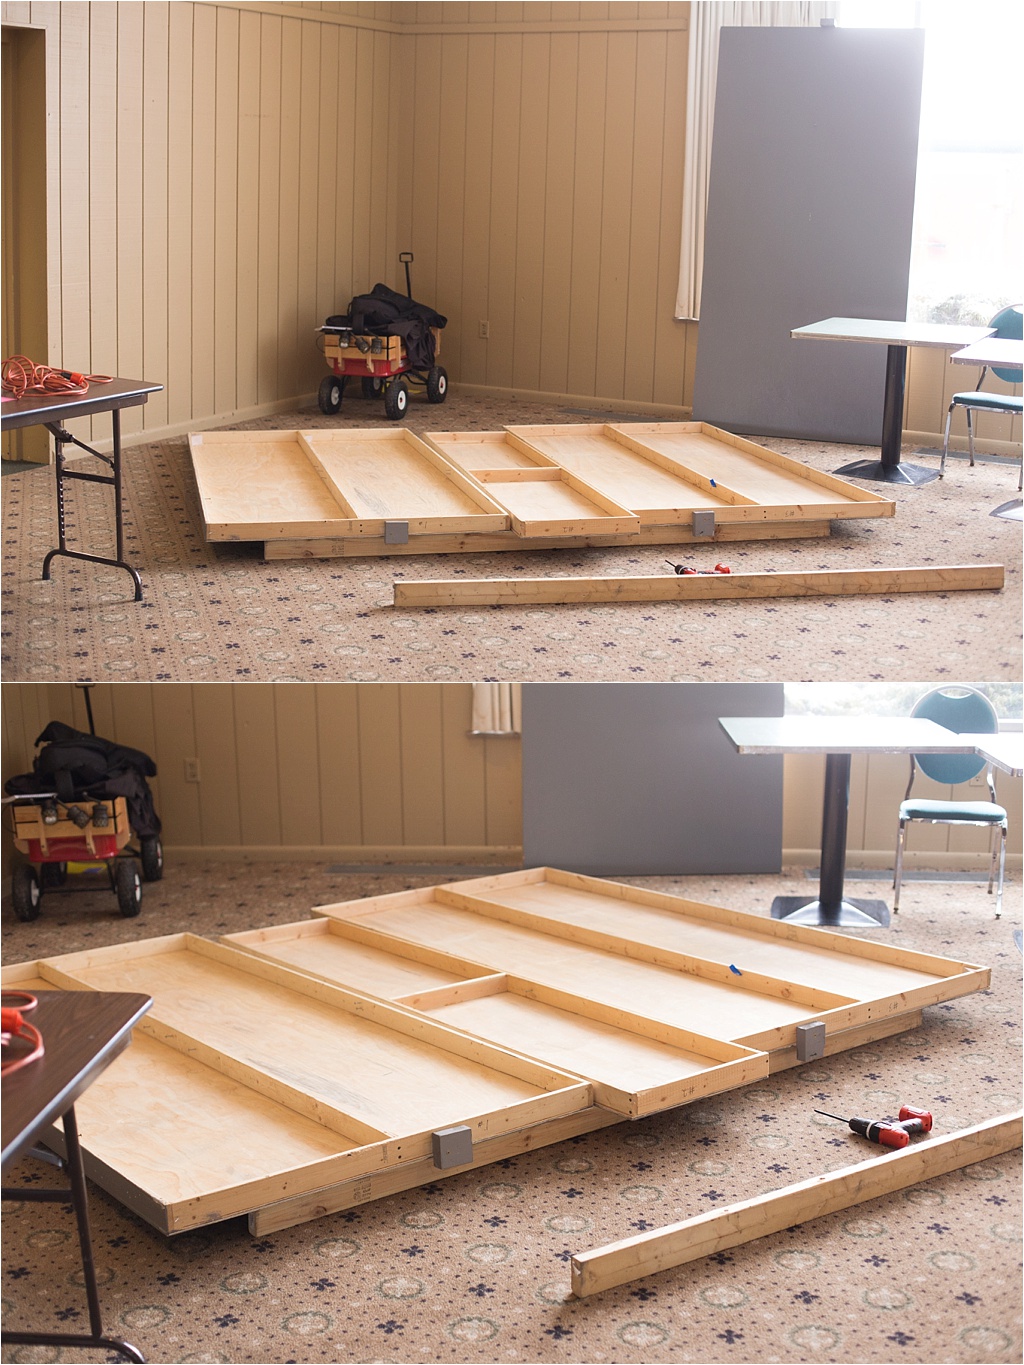
As you can see, there are a total of four separate wall units (three are on the floor face down still unassembled, and one is propped up against the wall). The three larger units are 4 feet wide and 8 feet tall. We constructed those simply by using three 4×8 sheets of plywood and 1×3’s for the framing. The smaller unit in the middle on the floor is two feet wide by 8 feet tall. As I’m sure you can guess, we cut a 4×8 plywood sheet in half, and framed it the same way. We also added roughly 3×3 blocks to some of the inside corners of the walls for added stability, since the plywood and framing are so thin.
As you look at the above pictures, I’m sure you’ll notice a couple of things. First of all, there are two blocks on top of the larger units that are lying face down on the floor as well as the one up against the wall. Those are 2×2 blocks that are painted the same color as our walls. They hold the lighting units that we’ll put on later. Secondly, the three wall units are resting on 2 2×4’s. Those 2×4’s are the same ones from the trailer, and are in no way used for construction. We just lay the walls on top of them because the blocks on the two 4×8 units stick out, and it would be impossible to construct it without it laying completely flat.
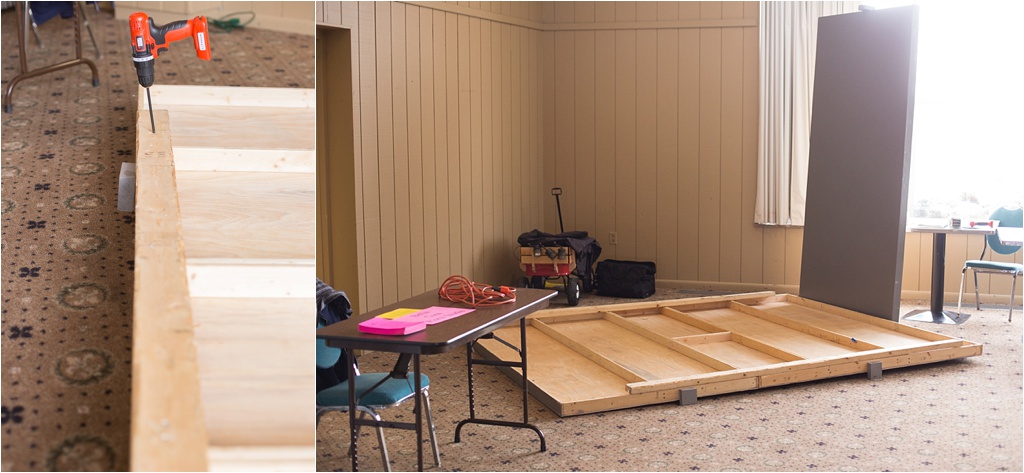
Now it’s time to use the power tools! Woo! What we do from here, is screw the walls together at the inside framing. Then, for added stability, we take 2 8 foot 2×4’s and screw them along the top and the bottom of the walls. See the wagon in the back corner? You won’t in a moment. 😉 We’re able to stow away all of our tools and boxes behind our setup so they’re easily accessible when it’s time to tear down.
Ta da! We raised up the large unit that was on the floor, then one of us keeps that unit stable, while the other attaches the remaining 4×8 at a 90 degree angle. Again, we connect the frames and use lots of screws. 😉 Because of the angle of the wall and the added stability provided by the 2×4’s and blocks in the corners of the framing, everything is completely self standing. Now that we have our “room”, it’s time to start decorating!
We have a black love seat with pillows to match our branding that we set up in the middle of that back wall. We bring in a magic coffee table (yes…magic. You’ll see), and a slimmer tall table. The coffee table goes in front of the couch just like in a living room, and the taller table goes off to the side at about a 90 degree angle, but sometimes due to space we may have to adjust that. Once the furniture is in place, we can put up the pictures!
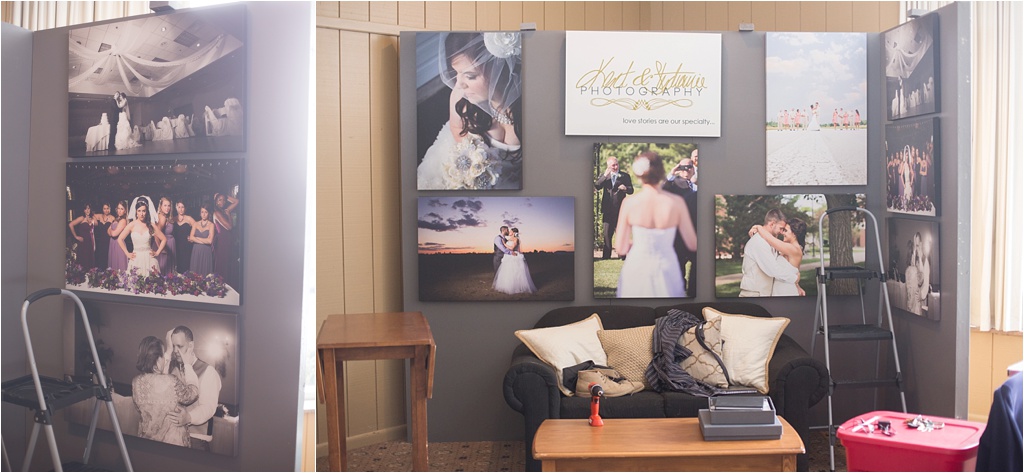
We have 9 canvases that we put up altogether. We want to make sure to show off a variety of pictures, so we choose ones that fall into two different categories: nicely posed images with killer lighting, and candid emotional images that really tell the story. Because we provide both of these kinds of images to all of our couples, we want to show that range when people are “shopping”. Six canvases go on the large wall behind the couch. These are all 24×36 canvases, and the one on the top in the middle is our logo. Three canvases go on the smaller side wall and measure 20×30.
Next, we install the lighting. This is where those 2×2 blocks come in handy! We bought some cheap, simple track lighting units, and screwed them right into those blocks. From here, we point the individual lights in a way that highlights the pictures, and also lights up the side table, as that’s where we have our registration forms for whatever contest we’re doing. It may seem like overkill, but trust us…those lights make all the difference!
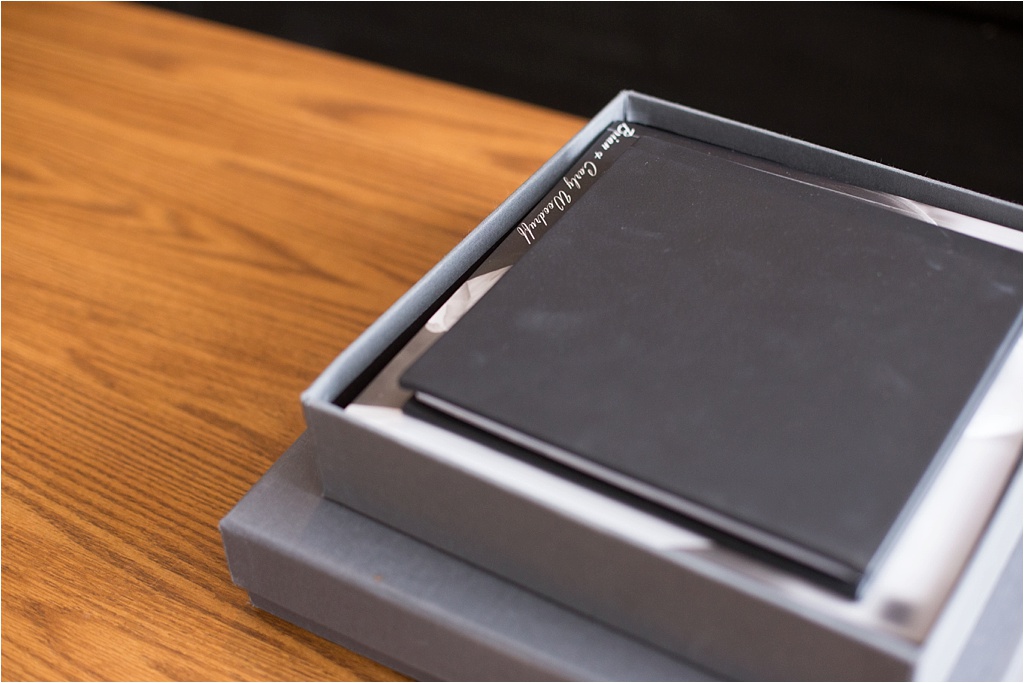
Next, we take an array of different albums and set them out on the coffee table, along with a sign that has an incentive for brides who want to sign with us at the show. We then take one of those gorgeous gray linen album boxes, and set it up on the side table with a sign for our giveaway, and registration forms and pens. All the entries go in the box.
Voila! Here’s what the finished product looks like! After we put the track lighting on, we do three things. First, we put a thick, black material along the back of our setup. We simply use staples to keep it in place. The reason we do this is because sometimes parts of the back of our display is visible depending on the venue (in this case, the back of our side wall is facing the booth to the right). We don’t want a bunch of unfinished lumber and plywood hanging out anywhere. Not only would it make us look sloppy, but it would take away from any other vendors’ displays that it might be facing. After that, we put up the gold material on either side of the setup. We pleat it at the top with our hands, and use the trusty ol’ staple gun to keep it in place. This covers up the unfinished ends of our display, and also gives the illusion of curtains. We’re going for homey, remember? 😉 Then the final step is to raise up the top of the magic coffee table (See?!?! We told you!) so the albums and sign is at a good height for anybody to come by and look through them.
So that’s it! It takes about an hour and a half to set everything up, and about an hour to tear down. And yes…teardown works in the exact opposite order. 🙂 We hope this helped anyone wanting to set up their own vendor booth at a function and quenched any curiosity that anyone may have had. The most important advice we could give to vendors attending a bridal show is yes…the setup is important, but the IMPRESSION you leave on people is even more important. Be personable, friendly, go the extra mile, give things away, create a call to action, be genuinely interested in what people are saying, and do something that sets you apart from other people in your field. To any brides that want to attend bridal shows, the best advice we can give to you is go with an open mind, bring address labels (for all the giveaways…otherwise your hand will be cramping by the end of the day!), drink lots of water (or you’ll lose your voice), bring someone with you, and just have fun!
Venue | Fremont Country Club
Photos of us | Sarah Harvey

